How to Care for Your Floor Graphics
FEBRUARY 13, 2019| SpeedProCategories
GraphicsWith Americans looking down to check their phones every 12 minutes, and some much more frequently than that, they may be too distracted to notice some of the signage in your business. Floor graphics provide a great way to get branding, event promotion or other ads where people are sure to see them — right in front of their feet.
Floor graphics aren’t just helpful for marketing efforts. They can also be the perfect means to provide wayfinding signage at a community event, sports event, convention, festival or other event. They can also direct people in airports, schools, office buildings and more.
Floor graphics can also help you promote a sense of community or team pride. What basketball court, for instance, is complete without the home team’s emblem proudly displayed at center-court? Some people even choose to incorporate custom floor graphics into their personal events, such as weddings, for an extra special touch.
No matter where they’re placed, floor graphics capture people’s attention. To get the most out of your floor graphics, though, you need to take proper care of them. It’s helpful to first understand what a floor graphic is made of. Vinyl floor graphics have three layers to them:
- Adhesive that sticks the decal to the floor
- Vinyl substrate that the image is printed on
- Anti-skid laminate coating, or matte mask, that protects the surface of the graphic
Together, these layers form a graphic that is vivid and durable. Even with quality materials, though, you want to do your part to properly care for the graphic. This includes choosing the right location for applying the graphic, preparing the floor surface, applying the graphic correctly and then maintaining it by avoiding damage and keeping it clean and dry.
Choose the Right Location
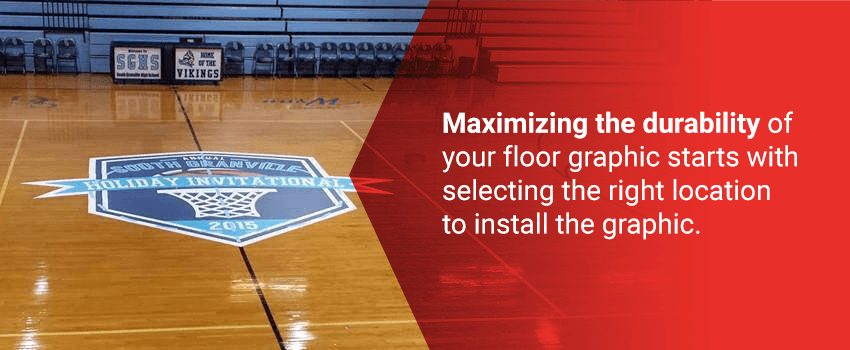
Maximizing the durability of your floor graphic starts with selecting the right location to install the graphic. The good news is that floor graphics can be installed on most common indoor and outdoor surfaces. The best surfaces include:
- Wood
- Tile
- Vinyl
- Concrete
- Asphalt
You should not install floor graphics on the following surfaces:
- Textile mats and carpets
- Rubber or soft PVC matting
- Marble
Beyond these basic requirements, the surface for your floor graphic should be in good shape, free of cracks or uneven terrain. These issues are more likely to present themselves outside on asphalt or concrete. If you’re placing a floor graphic outside, be sure to find an area that is smooth and free of cracks. Alternatively, you could fill cracks and holes and allow the filler material to dry completely before applying your graphic. Just make sure you don’t cover up any relief channels for temperature fluctuations.
Inside, make sure floors are not waxy, rough, porous or uneven. On tile and vinyl floors, be sure to position floor graphics so they are at least half an inch from grout lines and edges. If your graphic is placed over these seams, air can be trapped that causes peeling prematurely. On wood and laminate floors, the seams between boards shouldn’t cause a problem. However, you should avoid floor end joints if possible since they can cause decals to pucker.
It’s also smart to think about the wear your floor graphic would experience in various places based on the foot traffic or other types of traffic that go on there. Of course, you want to place your graphic where it will be seen by numerous people so the idea isn’t to keep it out of areas with dense foot traffic. However, it’s a good idea to keep your indoor graphic away from points of entry so it’s less likely that people will walk on the graphic with wet shoes.
If your floor graphics are to be placed in a warehouse, either as helpful wayfinding signs, safety reminders or means of branding, place the graphics where they will be out of the way of heavy equipment or pallets since this type of traffic could cause damage to the graphics.
Prepare the Surface
Once you’ve chosen the right location, you’ll need to prepare the surface before applying the graphic. Proper preparation is important to ensure the graphic adheres securely to the surface. Follow these steps to prepare your surface:
- Wait to wax: For indoor floors, do not wax the floor surface for at least 24 hours before applying your graphic.
- Clean: Clean the area of the floor where the graphic will be located plus an extra margin of 6 to 8 inches with a detergent — not soap — that is not chemically aggressive.
- Dry: After cleaning, dry the floor with a lint-free paper towel or cloth.
- Degrease: Dowse a lint-free paper towel or cloth in rubbing alcohol free of lotions or in a degreasing agent and wipe the floor to remove any oily residues.
- Dry again: Wipe dry with a clean lint-free paper towel or cloth rather than letting the alcohol evaporate on its own.
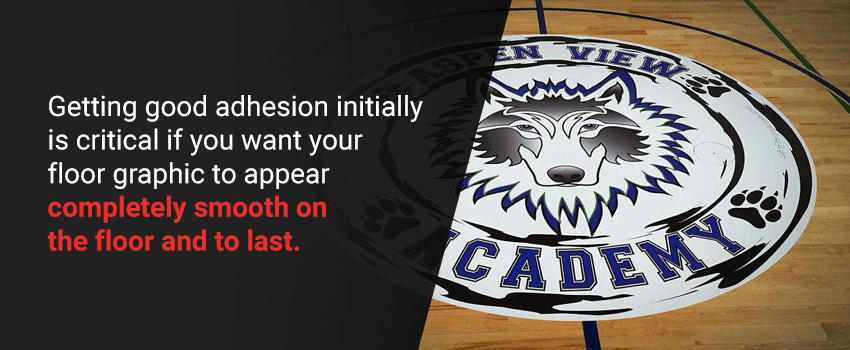
These steps are all aimed at making sure there is nothing between the floor and the adhesive — no dirt, grime or residues — that will get in the way of the adhesive sticking completely to the floor’s surface. Getting good adhesion initially is critical if you want your floor graphic to appear completely smooth on the floor and to last.
For graphics that have transparent backgrounds, cleaning the floor also prevents any visible specks of dirt or other particles from getting trapped behind the transparent vinyl. You don’t want to go through the process of designing and applying your perfect graphic only to be annoyed every time you see a dark speck that isn’t meant to be there.
Carefully Apply the Graphic
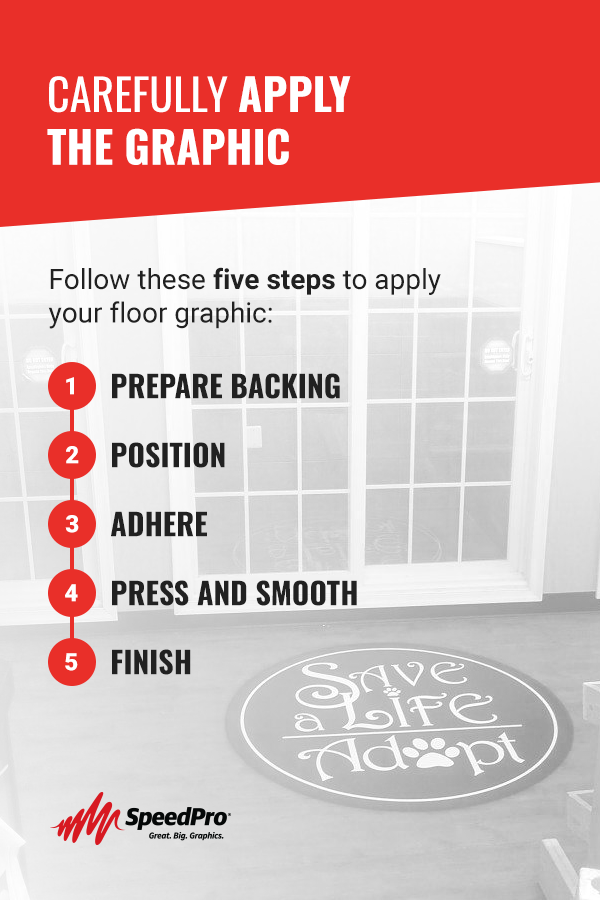
Once you’ve chosen a good location for your graphic and have prepared the floor there, you’re ready to apply the graphic. This is also an important step in taking proper care of your floor graphic and doing all you can to make it last. Follow these five steps to apply your floor graphic:
- Prepare backing: Start by turning the graphic upside down and peeling down the backing paper by about an inch. Crease the paper and then return it to the adhesive back.
- Position: Position the graphic exactly where you want it on the floor. Use a piece of masking tape to tape down the top edge of the graphic to the floor.
- Adhere: Next, lift up the graphic and peel back the section of backing paper at the top down to the crease and allow it to stick to the floor. When you’re sure it’s exactly where you want it, firmly press down the top section. Avoid touching the adhesive. Continue by pulling about four more inches of backing paper down at a time.
- Press and smooth: Using a squeegee or another flat tool, press the graphic down from the top-center down and outwards. If you see any bubbles that can’t be rubbed out, use a needle to prick them and then smooth over.
- Finish: Finally, gently remove the masking tape. Cut the corners to round them off. This way, they’ll be less likely to curl up with wear. Then, use the squeegee to press the rounded edges down.
Once you’re finished carefully applying your graphic, make sure you let the decal set for 24 hours before you walk on it or clean it. It should feel as though it’s stuck firmly to the floor from the start, but it actually takes anywhere from 24 to 48 hours for the adhesive to cure completely. When you’ve followed the above steps and applied your graphic properly, you can be confident that you’re already taking good care of your floor graphic.
Avoid Damage
So, now your floor graphic is installed. Proper placement, surface preparation and installation are important parts of caring for floor graphics, but we also want to focus on how to maintain floor graphics once they’re in place.
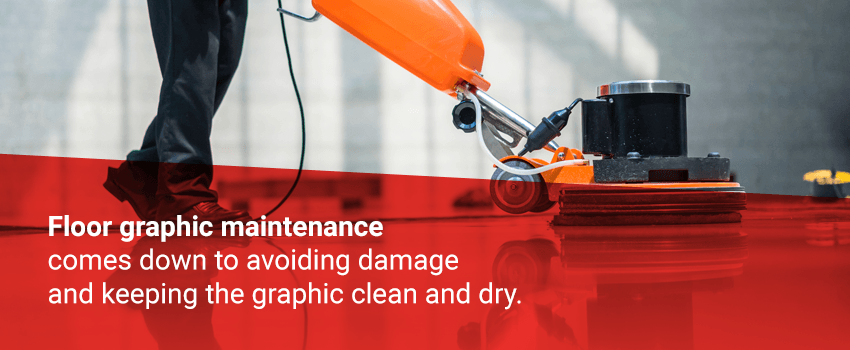
Floor graphic maintenance comes down to avoiding damage and keeping the graphic clean and dry. Let’s start by focusing on that first goal. So, what can harm floor graphics? One potential cause of damage you want to avoid is buffing. Of course, this might prove to be a problem since many commercial floors are buffed routinely. The good news here is that you can still buff your floors. You just need to protect floor graphics with plenty of wax first.
Wax your graphic shortly after applying it, and keep it, along with the rest of your floor, waxed routinely. If you clean your floors with a high-speed, propane-type buffer, then you should apply at least four coats of wax to the graphic before buffing it for the first time. This provides the necessary barrier of protection between the floor graphic and the buffer.
Another potential source of damage for floor graphics is heavy items being sat on, dragged across or pulled over them. Avoid setting heavy objects onto your floor graphic or moving heavy items across the graphic. You also want to refrain from driving heavy equipment, such as forklifts, over graphics. This likely wouldn’t be a problem in most settings, but it could be if your graphics are on a warehouse floor, for example.
Understand that floor graphics aren’t made to last forever. After all, if a lot of people are seeing your graphic, it probably means the graphic is experiencing a lot of foot traffic. This is a positive thing — it just means it’s normal for the edges of the vinyl graphic to detach from the floor just a bit after some time. If it curls up enough to potentially cause tripping, it’s time to remove it. Typically, after about six months, you’ll want to remove your floor graphic and possibly replace it with a new one.
Keep the Graphic Clean and Dry
In addition to avoiding damage, you want to keep your floor graphics clean and dry. Here’s how to clean floor graphics — just use mild soapy water or another mild cleaning agent. Aggressive floor cleaning agents could damage the surface of the graphic. If you use more chemically aggressive cleaners for the rest of your floor and accidentally spill some on the floor graphic, clean it off as quickly as possible.
Along with the routine cleaning you do, you can use soapy water or a mild cleaner and a scratch-free cloth to remove scuff marks that may show up on floor graphics from people’s shoes or wheels on shopping carts and strollers. If necessary, you can also enlist the help of a scratch-free cleaning pad, though this should serve as a last resort. Scuff marks aren’t damaging to your graphic. They just need to be cleaned to maintain the vibrancy and clarity of the image.
It’s also important that you keep your floor graphics dry. So, when you clean, make sure you don’t let water sit for too long on the graphic. In other words, don’t soak the floor. Instead, only use water to wipe down the graphic, and then dry. If water is spilled on the graphic, make sure you wipe it away quickly.
Moisture doesn’t only come from cleaning and spills. When it’s wet outside, people can track water into your building. Including doormats at all your entryways is a simple step to help prevent people from tracking too much moisture or mud inside. This doesn’t just protect your floor graphics — it also helps keep your floors cleaner overall.
Floor Graphics From SpeedPro
If you want to include floor graphics in your place of business, make sure the graphics are eye-catching and made from high-quality materials. Partner with SpeedPro for your floor graphics, and you’ll enjoy the wealth of expertise our staff has to offer as well as our commitment to only using the highest-quality materials, including inks, adhesives and laminates, from top manufacturers. We’ll make sure we produce graphics that will work well in your location. With the proper care, the ink on your floor graphics should remain bright, and the surface shouldn’t peel much at all.
Since SpeedPro offers a variety of large-format graphics, we’re also here to help you create other signage or marketing materials, such as banners, flags, window graphics and more, that tie in with your floor graphics. No matter what the product is, we have the experience and capabilities to help you with every step of the process, from design to installation. You can count on SpeedPro to deliver work on time and meet or exceed your expectations for quality.
Our nationwide network of over 120 studios means that SpeedPro is able to serve many businesses and individuals in communities across the U.S. Find a SpeedPro studio near you to request a quote and get started today.