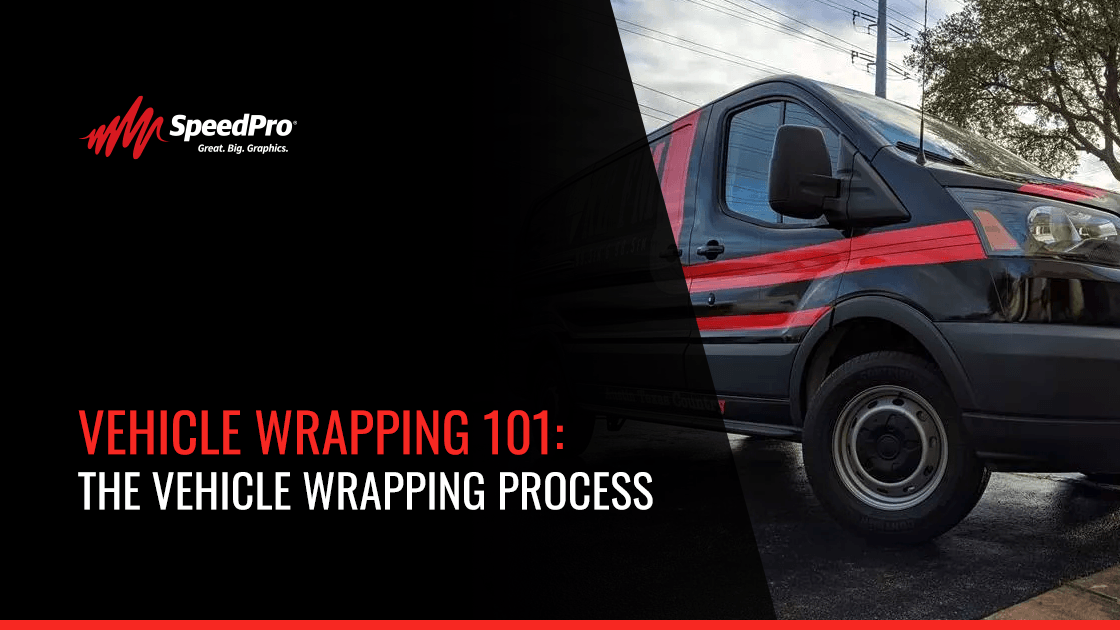
Vehicle Wrapping Process
APRIL 29, 2021| SpeedProThe average American spends roughly 18 days every year behind the wheel of their car. That might sound exhausting for the average driver, but for business owners, it’s a valuable opportunity. Vehicle advertising is a great way for people to notice your company. One wrap can generate between 30,000 and 80,000 impressions daily. What are the benefits of wrapping your fleet, and what goes into turning your car into mobile advertising?
The Benefits of Vehicle Wrapping
Why should you consider wrapping your vehicles?
- It’s a great attention grabber. What’s going to catch your eye on the highway, a typical paint job or a brightly wrapped car driving next to you?
- They don’t interrupt. Advertisements on the radio or television cut into programs — vehicle wraps don’t.
- They protect the car. Vinyl wraps don’t hurt your vehicle’s paint and can even prevent scratches and other damage.
- They’re incredibly cost-effective. Vehicle wraps let you reach a large audience with a single investment.
- It’s always working. Vehicle wrap advertisements reach people even if the car is parked.
Wrapping your vehicle might seem like a long and involved process, but it’s actually fairly straightforward. Let’s take a closer look at what it takes to wrap a vehicle.
How to Wrap a Vehicle
Step One
Start by making a plan and figuring out how you’re going to wrap your vehicle. Measure every part of the car you plan to cover — from hood to trunk to doors and even the roof. Calculate how much material you’re going to need and order your vinyl.
Step Two
Design your wrap. Vinyl vehicle wraps can include text, graphics or a combination of both. They’re made from a heavy-duty vinyl designed to be printed on, so the sky’s the limit when it comes to designs.
Step Three
Clean and prep your vehicle before you start trying to wrap. Dings in the paint or dust on the clear coat will make it harder to get a good seal. If possible, work in a dust-free environment like a painting booth to prevent debris from landing on the surface you’re trying to wrap.
Step Four
Next, measure and cut your vinyl. Your pieces need to be roughly 4 inches longer and wider than the area you’re trying to wrap. This gives you some room for error, plus helps to account for the fact that vinyl shrinks as it’s heated.
Step Five
This is the fun part — applying your wrap. Pull off the backing and apply the vinyl to your cleaned and prepped vehicle. Work your way from the middle to the edges with a squeegee to remove any air bubbles. Test the application with a heat gun to see if there are any hidden air bubbles.
Step Six
Trim away any excess wrap around the edges of your application. Keep the blade away from the vehicle and leave about one-quarter inch of overhang.
Step Seven
Tuck the edges of your vinyl. With proper application, your wrap won’t have wrinkles or lift off the surface.
Step Eight
Finally, use your heat gun on the vinyl to set it in place. This ensures it won’t fall off and helps you see if there is too much tension in one area that could lead to failure later.
Wrap It Up
While you can DIY a vinyl wrap, it’s often a task best left to the professionals. If you think a vehicle wrap is the best choice for your business, Contact SpeedPro today to request a consultation or quote.


![Vehicle Wrapping 101 [Infographic]](https://www.speedpro.com/wp-content/uploads/2021/04/Vehicle-Wrapping-101-The-Vehicle-Wrapping-Process-R01.png)