Decal Removal 101
JULY 6, 2020| SpeedPro GreenvilleYou’re ready to replace your wall graphics or vehicle wraps, but you decide to remove the current graphics yourself. Well, this blog post is for you.
Removing a graphic or vehicle wrap may seem daunting, as the vinyl has remained in place for so long without budging. However, removal isn’t actually that difficult. All you need is heat, adhesive remover and cleaning supplies.

What you’ll need.
Good news. Most of what you need to remove graphics from a vehicle, wall, door, etc., can be found already in your possession.
Rags: Use whatever works best for you when cleaning surfaces.
Cleaning supplies or soapy water: Whichever standard household cleaning supply you choose will be used to clean off the existing graphic’s surface and surrounding areas. For easier removal, make sure your surface is spotless.
Heat gun or hair dryer: Applying heat to the graphic’s surface helps break the graphic’s adhesive bond. However, too much heat can damage the surface’s paint. For interior walls, doors and passenger vehicles, start off by using a hair dryer. A heat gun typically works on commercial truck bodies. Whichever you choose to use, be careful and start with low heat settings.
Adhesive remover: Sometimes adhesive graphics leave behind sticky goop, which you’ll want to get rid of before installing your new graphic. Any adhesive remover should work; we suggest Goo Gone or even rubbing alcohol in some cases.
Make sure to clean your surface before you start removing your graphics. Dirt and grime can get in the way, making removal and residual cleaning difficult. No special cleaner is required.
How to…
Once you’ve gathered your supplies and cleaned the graphic’s surface and edges, you can start the removal process.
… Remove Vehicle Decals
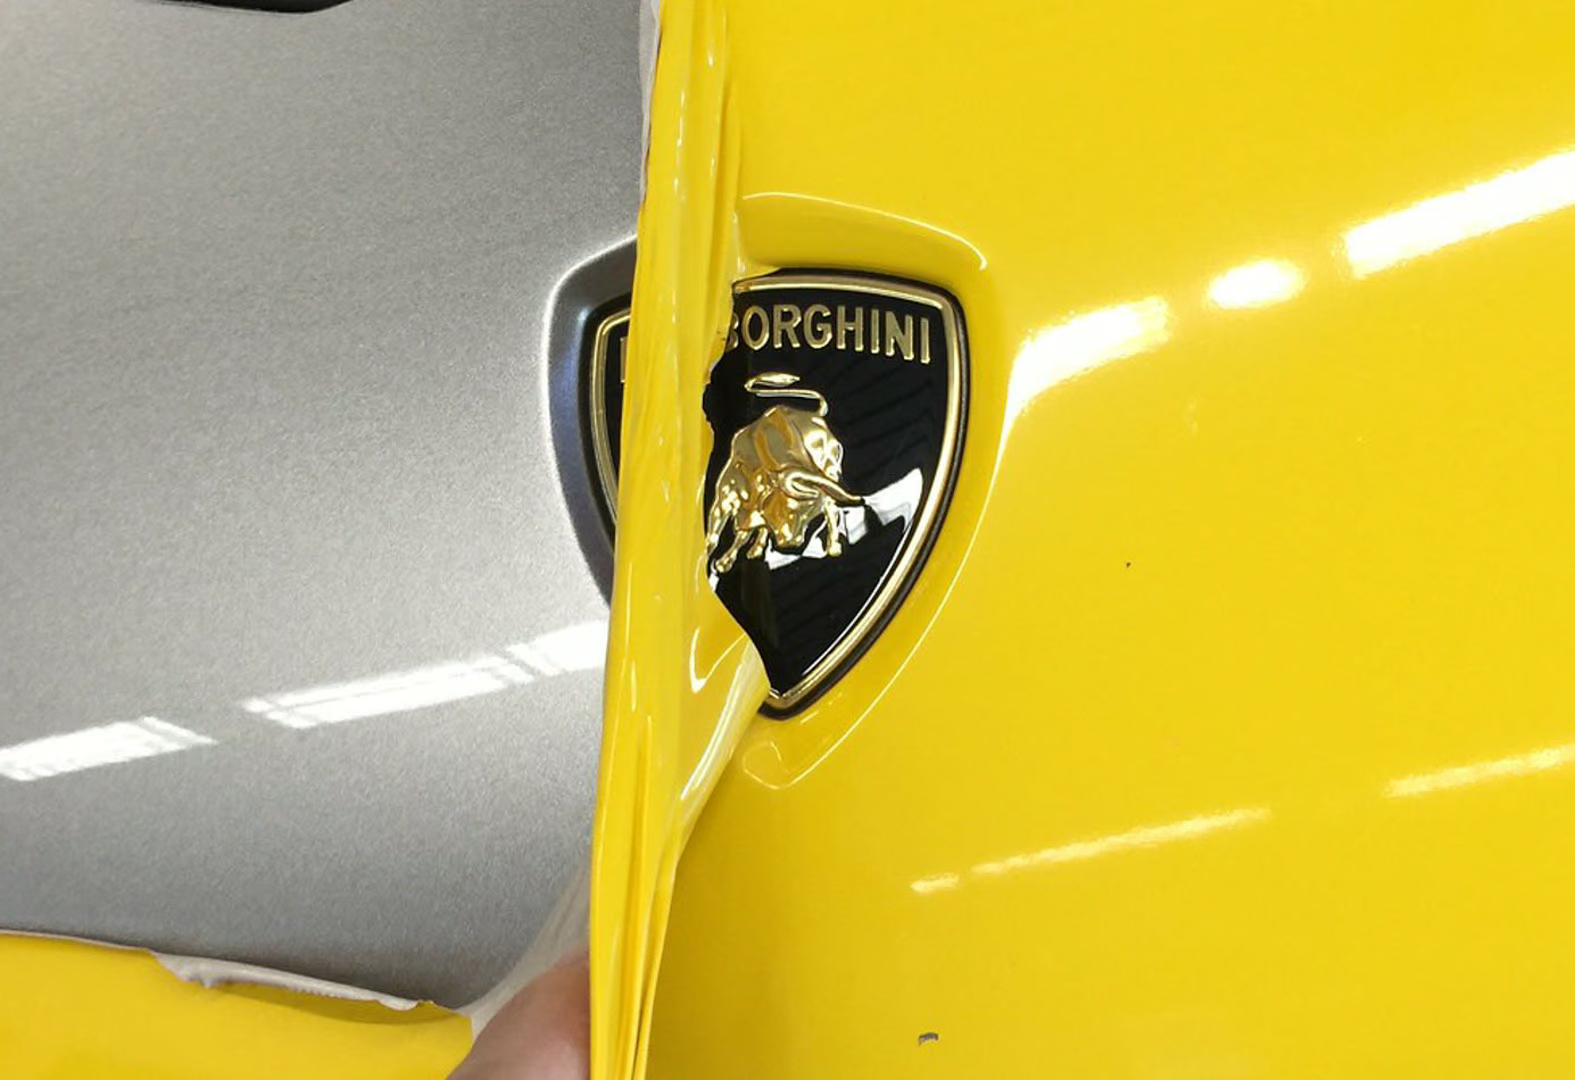
Vehicle decals come in all shapes and sizes: full wrap, partial wrap, spot graphics, one-way window coverings and simple window graphics. As you remove your vehicle’s graphics, remember to be careful as improper techniques can harm the vehicle’s paint or finish.
- Heat up the graphic. To do this, briefly run your heat gun or hair dryer over the surface of the decal. As the decal warms, the adhesive begins to loosen. If you’re working with a large graphic, you may want to work in sections and peel off the loosened sections as you go. If your graphic isn’t super large or has recently been installed, you might be able to skip this step.
- Peel off the graphic. Using your fingers or a plastic card or putty remover, peel the edges of the decal. Make sure not to use anything too sharp that could scratch the vehicle’s paint. Once you’ve got a grip on the graphic, you should be able to remove it rather easily, although sometimes graphics on larger vehicles take some elbow grease. Use a side to side motion as you work the graphic off.
- Clear the surface of residue. After the graphic is removed, take your adhesive remover and rub it on the left behind adhesive. Follow the instructions on how long to let the remover rest. Then, remove the adhesive and adhesive remover with your soap and water. The area should be cleared of residue now.
Some other options for vehicle decal removal include:
Warm water. If you don’t have a heat gun or hair dryer on hand, you can try soaking a rag in hot water and pressing the wet rag onto the graphic. The hot water should soak into the graphic like a sticker. Pouring boiling water over the graphic also works.
Nail polish remover or razor blade (on windows). If the graphic is on a window, try soaking it with nail polish remover. Remember, though, that nail polish remover can damage your vehicle’s paint if used on the car body. The same concern applies to using razor blades on the vehicle body.
… Remove Building Decals
The process of removing graphics from your building, such as a large logo on your wall, a directional arrow on your floor or a logo and business hours on your window, is similar to the process of removing graphics from your vehicle. The main difference is the application of heat.
Wall & Door Decals:
- Use a hair dryer rather than a heat gun. Heat guns often get too hot and damage the wall’s paint.
- Try removing residue with soap and water before using an adhesive remover. If you do need to use the remover, test it out on a small unnoticeable spot to make sure it won’t damage your paint.
Window Decals:
- Try removing graphic without heat first. Heat guns can apply too much heat and shatter the glass.
- If your window graphic is large, score the vinyl with a liner cutting tool that won’t cut the glass. This breaks the graphic into smaller, more manageable strips that keep you from putting too much strain on the window at once.
Floor Decals:
We suggest skipping the heat and pulling the graphic slowly.
So basically…
At SpeedPro Greenville, we print a wide variety of graphics. But just like any other graphic, the space you plan to install your graphic must be spotless. With these tips, hopefully you’ll be able to save a little money and get your space looking pristine for your new custom graphic.
Ready to boost your brand’s image with custom graphics printing? Contact us now at 864.383.0238 or email marketinggreenville@speedpro.com.