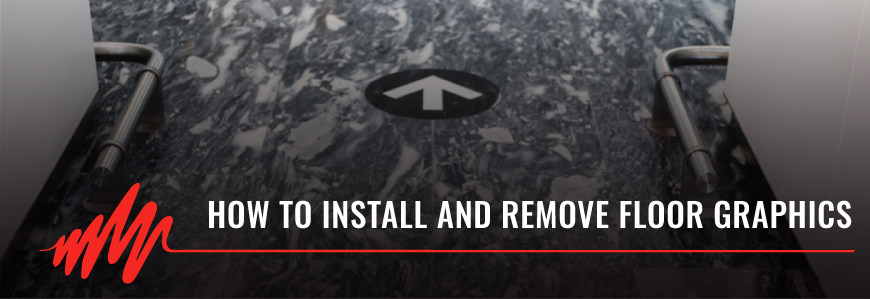
HOW TO INSTALL AND REMOVE FLOOR GRAPHICS
JANUARY 8, 2020| SpeedPro West ChesterProperly installing and then removing vinyl floor graphics are crucial parts of any graphic strategy. You’ll likely want to improve the look and feel of your business, and floor graphics are excellent options to complete these goals. Custom floor decals and floor clings are especially appealing to companies that want their brand to be more visible, while also giving their business space a complete appearance.
WHAT ARE FLOOR GRAPHICS?
Floor graphics are a form of signage that can be used in a variety of settings. For instance, floor decals for businesses can act as advertisements or stylish accents, while a sports team might use a large floor logo decal at the center of their court or field to brand their space. Whatever you use them for, there are many benefits to using floor graphics as they put your stamp on a location and display your creative vision.
WHERE CAN YOU APPLY FLOOR GRAPHICS?
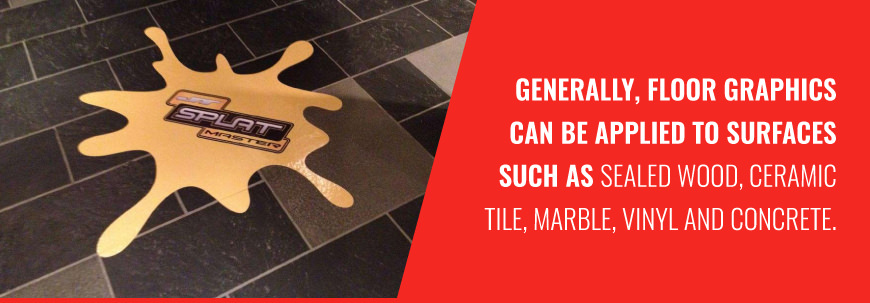
Before you install floor graphics, you’ll want to make sure that the graphics are suited for the surface. Generally, floor graphics can be applied to surfaces such as sealed wood, ceramic tile, marble, vinyl and concrete.
While the flooring material is important, it also needs to be in good condition for the floor graphics to hold up over time. For example, they shouldn’t be installed over uneven or loose tile. Additionally, they shouldn’t be applied on a surface that has loose or missing grout, along with any chips or cracks.
If you’re installing concrete floor stickers or other graphics, you’ll want to pay particular attention to the bumps, uneven terrain and cracks that will often occur on those surfaces. In general, the floor surface should be secured firmly, smooth as possible and not have any parts that are loose in any way.
You should also avoid floors with silicone on the surface, as it can prevent the graphic from properly adhering to the surface of the floor. If you have a floor finish on the floor’s surface, you’ll also want to ensure that the finish is well bonded to the surface. If you don’t check that finish is well bonded, it may release or separate from the floor, causing the graphic to lift off of the floor before you want it to.
HOW TO APPLY THE GRAPHIC
Applying a graphic to a surface is not a long process, but it does require a few steps to make sure the graphic is secured to the floor properly. Here’s what you need to do to prep before you apply the graphic:
1. PREPARE THE SURFACE
After you’ve decided where to place the graphic, you’ll need to prepare the surface of the floor. Printed floor graphics have a similar installation process to other vinyl graphics applied to other surfaces. To begin, you need to make sure that the floor is ready to have a graphic applied to it.

Not preparing the floor’s surface will reduce the graphic’s durability, making it more susceptible to damage and coming loose. To prepare the surface, you’ll first need to check to make sure that the surface is appropriate for graphics. If it doesn’t have the problems that were detailed previously, you can move onto the next steps. The preparation process will aim to make sure that the surface is smooth, clean and dry.
Follow these steps for a comprehensive preparation:
- Spray the floor: Start preparing the surface for installation by spraying the floor. Use roughly 20 drops of appropriate detergent for every pint of water. You shouldn’t use enzyme detergents or soaps in this process, as it could damage the floor’s surface.
- Clean the surface: Using the appropriate cleaning supplies for the surface, clean the area where you are going to apply the graphic. It’s best practice to clean more of the surface than the graphic will actually require. By giving yourself a few extra inches around the location of the graphic, you’ll have room for error and greater flexibility for the graphic’s placement.
- Wipe floor: After you have cleaned the floor, wipe it down to get rid of any moisture with a lint-free paper towel to get rid of any remaining grit or debris that have not been removed. Like with the cleaning of the surface, you’ll want to wipe in the area where the graphic is going to be placed as well as a few inches surrounding the graphic to give room for error.
- Remove grease or oil: To make sure there is no grease or oil on the surface before installation, dip the towel you use to wipe up the floor in rubbing alcohol that does not contain any lotions. This rubbing alcohol will help to remove any oil and grease that have built up on the surface. After you’ve applied the alcohol, wipe it dry rather than letting it air dry.
- Paint test: If the surface area where you’re applying your floor graphic to has paint on it, you’ll need to test the paint first. For wood floor graphics, a paint test will be especially important. This paint test will let you know if the paint will be removed from the floor when the graphic is eventually removed or re-positioned. You’ll need to check to see if the adhesive used to place the graphic will pull the paint off of the floor.
- Review manufacturer guidelines: While the above tips will help the general preparation of surfaces for your floor graphics, you’ll want to consult the manufacturer guidelines of your floor graphic. These guidelines will let you know if the floor graphics have any special requirements that you should be aware of. They might also give information about how strong the adhesive is, helping you know what surfaces will be appropriate for it.
2. INSTALLING FLOOR GRAPHICS
Once the preparation process is over, you’ll next move onto the installation of the floor graphic. Your manufacturer should provide you with instructions for how to properly install the custom floor graphics, but there are a few guidelines that you should follow unless otherwise instructed:
TIPS FOR OUTDOOR DECAL INSTALLATION
Outdoor decals need to hold their own against the elements, no matter what is thrown at them. You need to consider several factors when selecting and installing a floor graphic outside. Asphalt and concrete are two of the main locations for exterior decals. Graphics here are often used as wayfinding floor decals to help people find their way around the grounds of a facility.
However, directional floor decals are not the only option for the outdoors. Floor graphics can also add an extra flair to the outside of a store or call attention to a company’s brand as floor advertising decals.
Here are some tips for the installation process that will keep your outdoor floor decal looking as good as it did on its installation, months, even years, in the future:
- Be mindful of the temperature: Concrete and asphalt often have temperature-fluctuating relief channels. These small channels are designed to ensure that the surface will not shift or crack from temperature changes. As you install a concrete floor sticker or another kind of decal, make sure you aren’t placing it over these release channels. If they’re obstructed or sealed off, a change in temperature will cause the surface to crack, harming the decal.
- Choose slip- and skid-resistant laminates: When you install a decal, safety should be your top priority. Select a skid-resistant laminate to make sure people passing by don’t slip on your vinyl floor decal. If the area experiences a great deal of foot traffic like gateways, parking lots, sidewalks and doorways, a strong adhesive will be important to keep the decal secured to the floor.
- Pick the strongest adhesive and extra matte protection: To protect against ice, rain and UV rays, you’ll want to install an extra matte laminate onto the floor decal. Using an extra-strong adhesive will be crucial as well to avoid the graphic being moved from its location by environmental forces.
- Watch out for condensation and moisture-holding zones: Before you install the graphic, look for places where condensation typically builds up, such as in holes, cracks and nooks. You’ll want to fill up these areas so moisture and condensation can no longer build up. After you’ve filled in these spots, smooth out the fillings so the graphic will lay evenly across the surface. Typically, it’s best practice to wait 24 hours for the filling to dry before placing the decals.
TIPS FOR INDOOR DECALS INSTALLATION
Even though indoor floor decals will have fewer environmental factors threatening them, you still need to take care to ensure you install these decals correctly. Indoor surfaces will also often have smoother surfaces, making for an easier installation process. Still, here are some tips for indoor installation:
- Applying decals: When you apply a decal, you’ll want to use a squeegee. This device will help to prevent any air pockets from appearing. Without a squeegee, people often try to use their hands, which does not provide the same level of pressure and is not as smooth, allowing for a higher chance of air pockets forming.
- Installing graphics on vinyl or tile: When you install floor graphics on vinyl or tile, you need to take care not to install it over a tile edge or grout lines. These areas are dangerous for the longevity of your floor graphics, as they can house air bubbles which can then make the floor decal peel prematurely.
- Installing graphics on wood or wood laminate: When you install wood floor decals, you should watch out for floor end joints. The presence of these joints will make the wood floor graphics look irregular and bumpy.
HOW LONG TO LET THE DECAL SIT BEFORE PEOPLE WALK ON IT
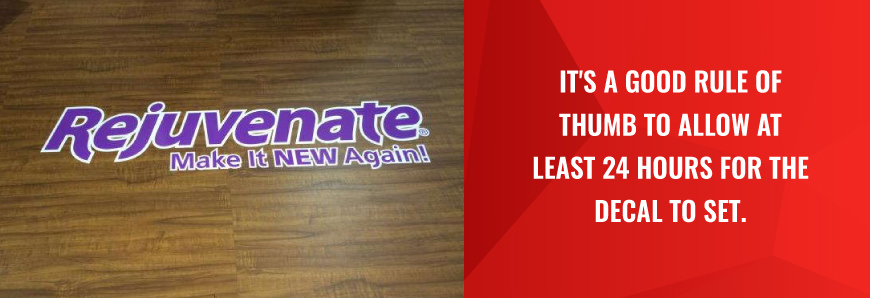
After you’ve applied the decals, you shouldn’t allow foot traffic to begin walking over it immediately. If you want to make sure that the decal stays in position, you need to give it time to set before anyone can interact with it. It’s a good rule of thumb to allow at least 24 hours for the decal to set. Once the time has passed, the graphics can be treated like any other part of the flooring, with people walking on top of it without damaging the material.
HOW TO REMOVE THE DECAL SAFELY
Eventually, you’re probably going to want to remove your old floor graphic and replace it with another, more updated graphic. When it’s time to remove it, take the proper steps to remove it safely without damaging the flooring surface underneath.
To begin, you should try to peel the majority of the decal from the floor. Ideally, you’ll be able to peel it off without hitting any resistance. At first, you can peel the decal with your fingers.
If you can’t get a grip on the decal with your hand, you can use a plastic credit card or other similar material to get it to come off the floor. At the decal’s edge, you’ll wedge the card between the decal and the floor, making a gap that you can pull the decal from. Moving the card back and forth with a little bit of pressure will often be an effective method to make the gap large enough to peel the decal off.
If you can’t get it off with a plastic credit card, don’t try to use a sharper material like a knife, as it can harm the surface. Instead, if the decal isn’t peeling well and continuously tears, you can use a blow dryer to put some heat on the decal. The heat should loosen up the adhesive and allow you to pull the decal up easier.
HOW TO CLEAN THE FLOORS AFTERWARDS TO REMOVE ANY RESIDUE
After you’ve removed the decal, clean up the floor to get rid of any residue left from the adhesive. For most surfaces, you can use a damp cloth dipped in soapy water to gently scrub the residue away. If the residue doesn’t come off easily, you can use more pressure, or you can dip the cloth in rubbing alcohol and resume scrubbing.
Finally, after you’ve gotten the residue to stop sticking to the floor, you can clean the surface with a damp cloth to get any soap or extra dirt off of the ground. After everything has been wiped up, you’ll need to dry the surface to prevent any slips or falls.
READY TO USE FLOOR GRAPHICS?
The ease of installing and removing temporary floor decals make them a favorite of companies that like to adjust their messaging regularly and have freedom in the image they provide to potential customers. Floor logo decals can also brand a space and provide practical value.
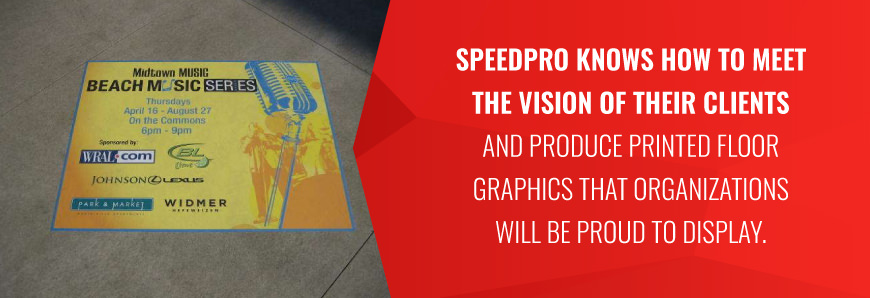
If you’re interested in adding floor graphics, Speedpro can help. As the largest nationwide network of studios that specialize in large format graphics, Speedpro knows how to meet the vision of their clients and produce printed floor graphics that organizations will be proud to display. Begin the process of bringing your custom floor graphics to life by contacting us or stopping by our Studio on Bolmar Street in West Chester.