
PROPER CARE AND MAINTENANCE TIPS FOR YOUR CUT VINYL DECALS
JUNE 26, 2023| Max TabaeianWhether you have small or large vinyl decals on a vehicle, storefront window, floor or wall, there are some general rules you should be aware of for maintaining their appearance.
CARING FOR DECALS FROM THE BEGINNING
Proper decal care starts at the installation process. Before we install a decal, we ensure that the surface is properly cleaned. Additionally, any dirt left behind can cause the decal to have spots or bumps that take away from the attractive graphics.
To properly clean the surface, we use a clean cloth and rubbing alcohol to wipe down the area where you’re planning on applying the decal. Ensure that no ammonia-based window cleaner is used 24 hours prior to the install. Ammonia can harm the decal’s adhesive, making it difficult for the decal to stick properly and reducing its longevity. Generally we use water with small amount of dish soap first, followed by isopropyl alcohol.
CARING FOR VEHICLE DECALS
Decals are a popular option for vehicles. As vehicles can face harsh road and weather conditions, it’s crucial to know how to clean vehicle decals appropriately. The next time you go to clean your vehicle, consider following the steps listed below:
- Rinse the car: Softly rinse the vehicle off, paying particular attention to the areas where you have decals and graphics. Remove any dirt, debris and dust that have built up on your car. Ideally, you’ll be able to use a hose that has a nozzle spray attachment to rinse the car off.
- Add soap: After you’ve rinsed the car off, mix non-abrasive detergent with clean water. You can use a detergent that’s specifically designed for cars or a standard household detergent you use for the dishes or laundry. However, check that the detergent doesn’t have any alcohol or other harsh ingredients that could damage the vehicle and ensure that it has a pH between five and nine. Only use a soft sponge or cloth to wash the areas with decals or other graphics.
- Rinse the soap off: Rinse the car off again as you finish the cleaning process to make sure that the detergent has been removed from the vehicle.
- Dry the vehicle: It’s okay to let the vehicle air dry, but if you’d like to speed up the process, you can use a soft microfiber cloth to gently dry off the decal. You can also use a squeegee if there are any areas with excess water.
CLEANING WINDOW DECALS
Cleaning your partial or full window decals will help you keep your building looking professional and visually appealing. Many companies use storefront window decals to promote their brand and any sales they’re having, but they only work if you keep up their appearance.

To properly clean a window decal, you need to hand wash it. Tools such a squeegee or power washer can damage the graphics or even lift them off of the surface. When you do wash them, use glass friendly chemicals that do not have strong chemicals in them. Basic soap mixtures are ideal. While you clean the window decals, don’t rub the decals too hard, as this can cause them to peel.
CLEANING FLOOR DECALS
When you clean decorative or directional floor decals, the procedure is similar to the other decal cleaning processes. Start by using an appropriate detergent—no enzyme detergents or soaps—to clean the decal area. Next, dry it off with a soft, paper towel, preferably a lint-free one. Finally, use a lint-free towel that’s coated with rubbing alcohol to get rid of any remaining grease or oil. Before it dries, use another towel to wipe up the alcohol.
RESTORING COLOR TO VINYL DECALS
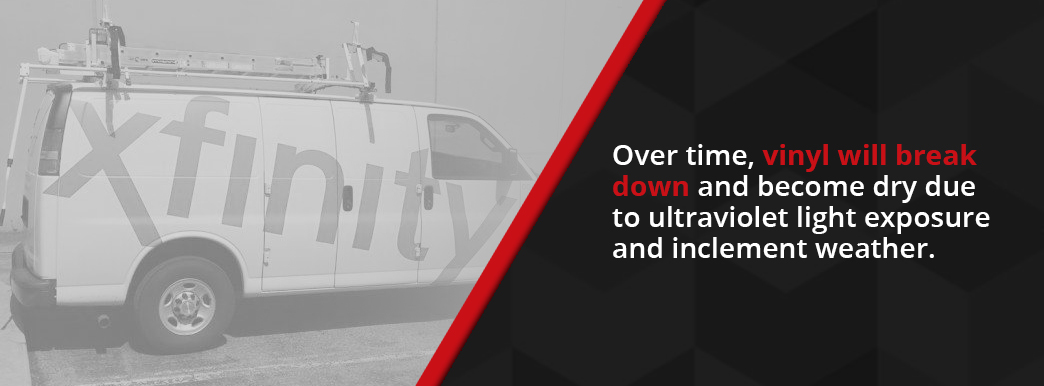
Over time, vinyl will break down and become dry due to ultraviolet light exposure and inclement weather. This process is sped up especially when we have 360 days of sun, and in coastal areas with proximity to the salty air.
No matter how durable the plastic vinyl is, it’s natural for the dyes to begin to deteriorate and break down over time. This occurs as the oils that go into the vinyl either volatilize or seep out of the plastic. Along with the oils vaporizing, the dyes will also break down at different times and rates.
When a vinyl decal is aging, it may undergo oxidation that generates a white residue that appears chalk-like. This residue can obscure the color of your decal and make your image look bleached. From full wall decals to elevator door decals to business door decals, the risk of color fading or becoming obscured due to aging is consistently present. Because of this, you’ll want to know how to clean them and restore their color.
To restore the health of your vinyl decals and bring back color, consider using a specially designed vinyl restorative product while following the steps listed below:
- Begin by using a soft cloth and a solution of water and detergent to take care of any superficial dirt on the decal. If there is mold or mildew on the decal, use a sodium percarbonate cleaner to remove the substances. Don’t use a scrubbing pad or rub too hard, as this can damage your decals.
- Once you’ve removed any dirt and mold, rinse the decals off with water. After rinsing them, give them time to air dry.
- Verify that the decals are completely dry and then wipe them off with rubbing alcohol. To do this properly, you’ll need to dab rubbing alcohol onto a soft cloth and then wipe the surface down with it. Softly wipe the surface until you can be sure that it’s entirely clean.
- Finally, once the vinyl decal is entirely clean, find a vinyl restoring product to coat the finished product with.
WANT MORE INFORMATION ON DECALS?
If you’re interested in purchasing custom-made decals or would like more information about them, contact SpeedPro of Greater San Diego.