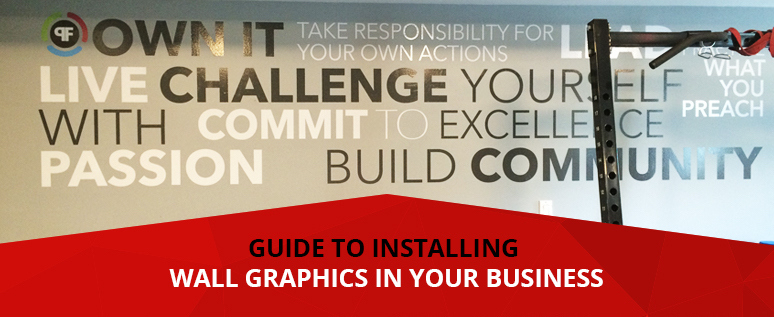
Guide to Installing Wall Graphics in Your Business
APRIL 29, 2019| SpeedProCategories
GraphicsWhen it comes to adding some visual interest and zest to the walls in your business, you have a few options. You can paint the walls an exciting color, hang posters or artwork, install wall decals or cover the wall from side to side and top to bottom with a large-format wall graphic.
While a bright and cheerful paint color can look fun at first, it can also get old after a while. If the color is too bright, it can be hard on the eyes and challenging for your employees or visitors to look at for extended periods. Similarly, posters and artwork can be vibrant at first but tend to get dusty and worn out over time.
Wall graphics and decals, on the other hand, tend to stay bright and vibrant over the long term. They also tend to be a lot more visually appealing and unique compared to run-of-the-mill paint and posters.
If you’re going to install wall graphics at your place of business, you have multiple options. You can purchase pre-designed graphics or work with a printing company to create custom designs. The size of your graphics or decals and the kind of images you want to be printed on them will determine the type of materials used and the printing process.
After you’ve chosen the type of graphics you want for your wall, the next step is to install them. You can either do it yourself or have a team of professionals handle the task for you. Usually, it’s best to have professionals do the job if you’re working with a full-size mural or a graphic that will cover a larger-than-average area, such as a tall wall in the lobby of your building or the wall of a subway tunnel.
Whether you do-it-yourself or work with a team of pros, here’s everything you need to know about installing wall graphics in your business.
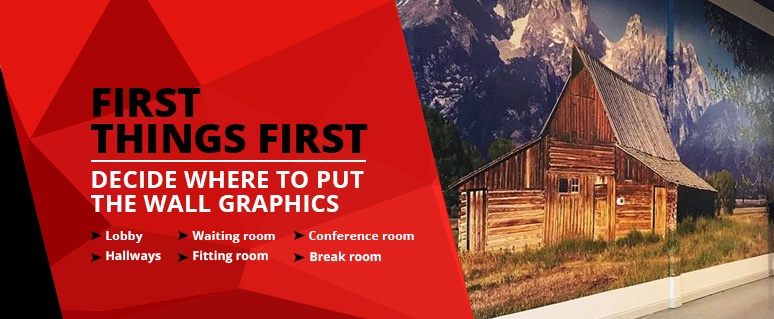
First Things First: Decide Where to Put the Wall Graphics
You want to place the mural or wall decals in a space that makes sense. Ideally, the area will see a fair amount of traffic so that people can encounter and appreciate the imagery on the wall. The positioning of your wall graphic also depends on the type of business you run. In some cases, for instance, the mural or other imagery can help you welcome people to your place of business.
If your customers and visitors don’t regularly come to your place of business, you can still benefit from installing a mural or smaller-scale graphics. When hung up in areas that your employees see often, the graphics can help to improve morale and make team members feel proud of the place where they work, including in the:
- Lobby: Depending on the size of your company’s lobby, a mural can be a dramatic way to greet visitors, customers, delivery people and countless others.
- Waiting room: Wall graphics in the waiting room of a medical practice, attorney’s office or other professional services company can help people feel more at ease while they wait.
- Conference room: A mural on the wall of your company’s conference room can help to liven up dull meetings and instill company pride.
- Break room: Installing a large-scale mural in the break room can transform it into a peaceful oasis that truly feels separate from the hustle and bustle of the rest of the office.
- Fitting room: Graphics in the fitting room at a department store or clothing store can help people feel inspired while trying on outfits. At specialty stores, such as bridal salons and hiking and camping gear outfitters, custom designed murals can help put a person into the right mindset and get them excited about an upcoming wedding, camping trip or another special event that requires specialty clothing.
- Hallways: Wall graphics and murals can dress up common spaces that people don’t pay much attention to but that see a lot of daily use. Installing a wall display along a well-traveled hallway in your office or the corridor of a shopping mall can get people to slow down and pay attention to their surroundings.
- Dining room: Casual dine-in restaurants often decorate the walls of their dining areas with trinkets and memorabilia. If you’d like a less cluttered look for your establishment, remember that a mural can add visual interest without having to be dusted nearly as often.
Some places aren’t ideal for murals or graphics. For example, areas of your business that have high humidity might not be suitable for a graphic, as the moisture in the air can seep into the walls and interfere with adhesion. A wall in front of a cooling system or near water pipes might not be ideal either.
Getting Started: Tools You Need to Install Wall Graphics
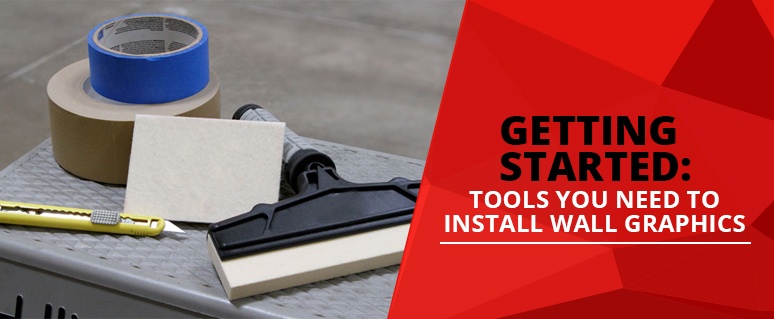
If you decide to hang or install wall graphics on your own, it’s worth knowing that the task does require the use of some specialized tools. These tools aren’t difficult to find and are likely to make the job much easier. Here’s a list of what you need in order to install wall graphics:
- A level: Few things are more annoying than having to stare at decoration or design that’s slightly crooked. Using a level — and a chalk line if you want to get fancy — will help to ensure that the image you hang up is even and not slightly tilted to one side or another.
- A squeegee: You’ll need a special, hard rubber squeegee to smooth out the decal after application. The squeegee flattens any air bubbles that might form between the vinyl graphic and the surface of the wall, and it also helps the graphic adhere to the wall more securely. Choose a squeegee that’s designed for use with wall decals, not one that’s meant to clean windows.
- An X-Acto knife or similar model: You might need to trim the panels if they’re too long for the wall or otherwise cut the graphics down to size. A sharp knife will make the job easy. You might also need to use a straight edge or a ruler to get a clean cut.
- Masking tape: You can use the tape to mark where to position the graphic or to hold the graphic in place as you smooth it on the wall’s surface.
- Sealant: Depending on the environment where you hang the wall graphic, you might need to use sealant to protect it from water damage.
Preparing the Wall Surface
Not every wall surface is ideal for a DIY mural or wall graphic installation. Walls that have texture — such as a brick or concrete wall or one that’s been painted with a popcorn-textured paint — aren’t ideal for graphics. The rough texture of the wall makes it difficult for the adhesive to grip the surface.
The ideal wall is going to be smooth and free of any debris. Even a little bit of dust can interfere with the graphic’s ability to adhere, so you’ll want to clean the wall immediately before applying the graphics. To do so, use a microfiber cloth to wipe down the surface of the wall, removing any dust and other debris. If you’re hanging the graphic up to the ceiling or the corners of the walls, make sure you wipe away any traces of spider webs and collected dust along the edges of the wall.
Depending on how dirty the wall is, you might need to wipe it down with a damp cloth a couple of weeks before you install the graphics. Since you need the wall to be completely dry before you hang the graphics, you’ll want to wait a few weeks before moving forward.
The same rule applies to freshly painted walls. If you’re going to install the graphic or mural on a wall that’s recently been painted, wait at least three weeks before doing so to give the paint time to cure and dry thoroughly.
How to Place and Position Wall Graphics
Although there are some similarities between options, how you position and install wall graphics varies based on the size of the graphic. A mural that takes up an entire wall — or even multiple walls — is going to have a slightly different installation process compared to a decal or graphic that’s about the size of an average poster.
First of all, you’re more likely to need at least one helper if you’re hanging a full-wall graphic. Second, you’re likely to be working with multiple panels and will need to pay attention to what goes where.
How to Install Smaller Graphics and Decals
Installing a poster-sized or smaller wall graphic shouldn’t take too long. Once you’ve gotten everything in order, the entire process will take just a few minutes. Although the graphic is small, it can be helpful to have an assistant with you during the process to keep an eye on things and hold pieces steady when needed. Then, follow these steps:
- Clean the wall: Dust the surface of the wall where you’ll hang the graphic. Be sure to remove any tiny particles. Use a microfiber cloth, which will grab dust and keep it from traveling around the room.
- Mark the positioning of the graphic: Position the graphic, with the paper backing still attached, against the wall. Move it around until it’s in the location you’d like it to be. Use your level to make sure the graphic is straight and even. Reposition it if it’s slightly crooked, then use a pencil to mark the corners of the graphic on the wall.
- Lay the graphic on a flat surface like a table or the floor: The image side of the graphic should face down. Pull the paper backing from the graphic, starting at the top and exposing a few inches of the adhesive. Fold those few inches of paper backing away from the sticky side of the graphic, making a crease.
- Place the graphic against the wall, lining up the corners with the marks you made: Use your hands to press the top few inches of the graphic to the surface of the wall.
- Squeegee the graphic into place: Start at the top middle part of the graphic, then push the squeegee toward the right edge. Push the squeegee back toward the middle, then push it over to the left side edge of the image.
- Pull the remaining backing off of the graphic, smoothing it over the surface of the wall as you do so: Once the graphic is attached to the wall, push the squeegee over it to firmly adhere it into place. Start in the center and work your way toward the edges. It’s also a good idea to run the squeegee over the edges of the decal to make sure they’re firmly in place.
How to Install Full-Wall Graphics
While the general process of installing a mural or graphic that covers an entire wall or multiple walls is similar to that of a smaller graphic, there are some key differences. Since you’ll be working with numerous panels, you’ll need to make sure separate pieces are aligned before you hang them up. When you’re laying out the individual panels, it can be helpful to number the backs of them so that you know what order to work in.
It’s also important to make sure you cut any holes needed for light switches or electrical outlets. Before you install the panels, remove the switchplates from the wall to create a smoother surface.
When you line up the panels, remember that it’s better to create vertical seams between each one rather than having the panels overlap horizontally. Ideally, the company that printed your mural will have developed panels that stretch up the length of the wall so that you don’t end up with horizontal seams. The one exception to this rule might be work on a wall that’s much taller than average. In such a case, you might need two or more separate panels to cover the entire height of the wall.
If the mural reaches to the bottom of the wall where it connects to the floor, it’s a good idea to apply a coat of sealant to its surface to keep moisture out.
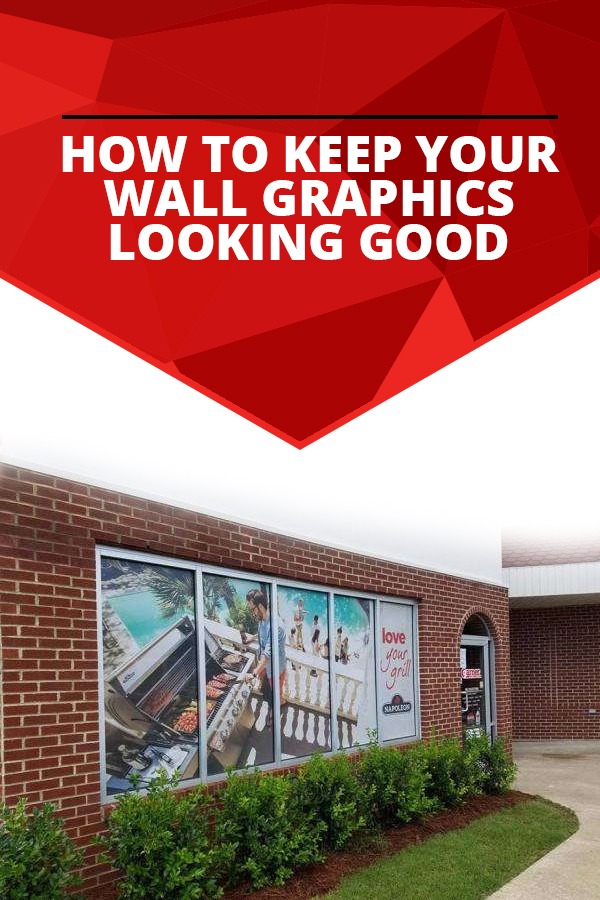
How to Keep Your Wall Graphics Looking Good
With the right care and treatment, wall graphics can last over the long-term and look great throughout their lifespan. When you’re caring for your mural or graphics, the thing to remember is to be gentle. There’s no need to use strong, harsh chemicals or cleaners such as bleach or ammonia on the graphics. Doing so can damage the material and cause the images to fade.
For the best results, clean your mural every month or so using a dry dusting cloth. Once you’ve removed any dust from the surface of the graphic, you can wipe it down with a damp cloth as long as the graphic has been sealed. Use only mild soap, such as natural dish soap, to clean the surface of the piece. If the graphic isn’t sealed, use only a dry cloth to dust it.
When you’re cleaning, start at the top of the mural or decal and work your way down. Be extra careful around the seams, as you don’t want water to seep in and cause the vinyl to pull away from the wall. You also want to avoid getting the graphic too wet. The cloth shouldn’t be dripping or soaking wet. After cleaning the wall, gently dry it with a cloth.
What to Expect on Installation Day
You don’t have to install your wall graphic or mural on your own. If you work with the experts at SpeedPro, we’ll send a team in to professionally install your graphic. Installation usually takes a few hours, but it can take more for a large area. For example, when we covered the walls of two subway tunnels with a mural for the Oregon Zoo, the project took 120 hours. It also involved 450 panels that covered 11,000 square feet, so it was much larger than a typical project.
When you have a wall graphic or mural professionally installed, we’ll handle every part of the process and bring in the needed supplies, such as a ladder or scissor lift, squeegees and sealants to secure the images to your wall. All you’ll need to do is sit back and watch the magic in action.
Interested in transforming the look of one or more walls at your place of business? Find a SpeedPro studio near you and get in touch today.


