
How to Apply Graphics to a Boat
MARCH 12, 2022| SpeedPro East BayCategories
Boat GraphicsBoat wraps and graphics can be used for multiple reasons. Whether it’s for personal use, protection of the boat’s surface, or a company promoting its business, the installation should be flawless. To get the best result, you’ll need to understand how the boat wrapping process works and what you’ll need with step-by-step directions.
CAN I WRAP MY OWN BOAT?
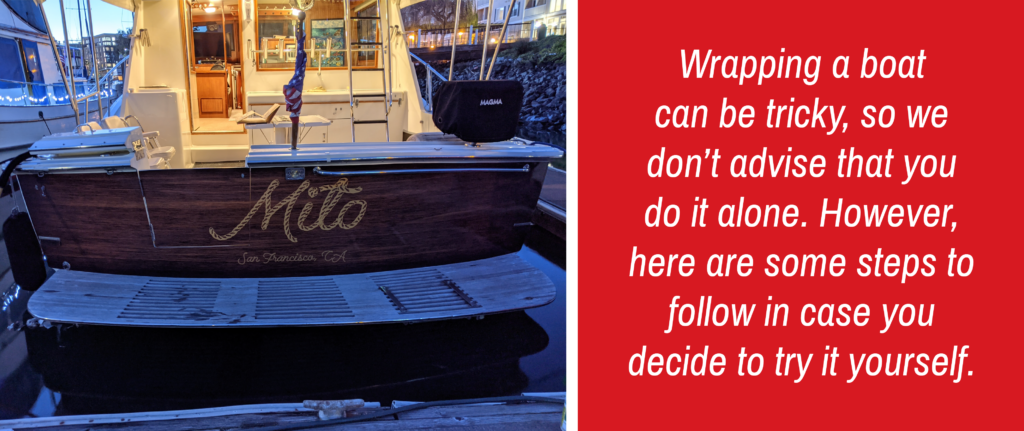
Wrapping anything whether it’s a vehicle, boat, or small item can be tricky. The vinyl has an adhesive so when it lays down on a surface, it can be difficult to pull back up. It also tends to get bubbles or wrinkles in it which can be a challenge to get out. Without the proper tools, you can ultimately harm the lifespan of the wrap and leave it looking unappealing. We highly recommend that you hire a professional to get the job done.
However, even though we don’t advise you to wrap your own boat or apply your own graphics, we still think it’s important for you to understand how the process works. This will help you to properly seek out an installer that knows what they’re doing. When you know what to look for, it will help to narrow down a company that will get the job done correctly.
HOW TO WRAP YOUR BOAT
The most important thing to look out for is making sure that the company you’re working with has the correct installation tools and materials. Once you have that confirmed, they’ll need to prep the surface for an effective installation. Then, they’ll need to apply the graphics evenly and seam it properly where it is required. If that wrap doesn’t panel correctly or if the lettering doesn’t adhere to the boat, your graphic is more susceptible to quicker wear and tear.
Here are more details on those steps to wrapping a boat:
1. GATHER AND CONFIRM MATERIALS
Ensuring that the proper materials are being used will help determine whether the installation will be completed correctly. Firstly, you’ll want to make sure you have the vinyl graphic or wrap you’re installing. It should be sized correctly and masked ready to go so that there aren’t issues with the installation. If the size is incorrect or the material isn’t right, there will be an immediate problem with the install.
Next, you’ll need to have the proper cleaning supplies before beginning the application. Cleaning the surface will be important to have a nice prepped area to apply the decals to. For boats, it’s best if you use all-natural cleaners as you don’t want to use harmful chemicals around water.
You’ll also want to have a squeegee (soft tip preferred), a heat gun, and tape. The tape will be helpful in lining up the graphic on the boat to make sure that it’s straight and centered. The squeegee will help to apply the graphic to the boat and remove any air bubbles that could form under the material as the material is adhering to the surface. Lastly, the heat gun will assist in the installation process to make the material more flexible as you’re working with it. Some other materials that you may want to bring along will be scissors and an Exacto knife for when you need a more precise cut.
2. PREP THE SURFACE
As mentioned above, the installation crew should first clean the boat surface. The boat should be spotless of any dirt or oil that could potentially harm or shorten the life span of a wrap. Small dirt and dust particles can be particularly bothersome when installing so make sure that you’ve removed all debris before getting started. If you install the vinyl over an uncleaned surface, you run the risk of seeing bumps and bubbles under the wrap or graphics.
3. LET THE APPLICATION BEGIN
After your surface is fully prepped, it’s time for the fun part – the installation. Before actually applying the graphic, you’ll want to plan out how it will fit into the space so that you can avoid any errors without ruining the graphic. Once everything has been lined up, the long panels of vinyl can then be wrapped around the surface. Complex curves on boats can be especially challenging so this will take patience and precision. The installer will be able to easily control the vinyl so that it doesn’t curl in on itself or wrinkle when applied. It will be smooth and tightly applied.
With the right vinyl, air egress will be present so the vinyl can be repositioned and avoid major bubbles. When the installer comes across corners or difficult spots, using the heat gun will help to make the material more flexible. If there are edges that are more difficult to keep down, some installers may use clear tape to fully adhere the wrap to the surface.
Once this is completed, you can put the boat back in the water and it will be safe from any saltwater damage. For boat lettering installs, it can take anywhere from one to a few hours. For a full complete boat wrap, it can take two to three days.

SPEEDPRO EAST BAY AND YOUR BOAT WRAP
Adding custom graphics to your boat whether personal or commercial will involve some consulting and decision-making. You’ll want to consider the color, fonts, images, and anything else that may impact branding or your personal use. At SpeedPro East Bay we pride ourselves on being the experts in boat graphics whether small or large. We use the highest-quality materials and equipment to get your project completed. When you call upon us for your project, you can bet the results will be long-lasting and capture attention.
To get started on your boat graphics or boat wrap today, give us a call at 510.974.7369 or click here.