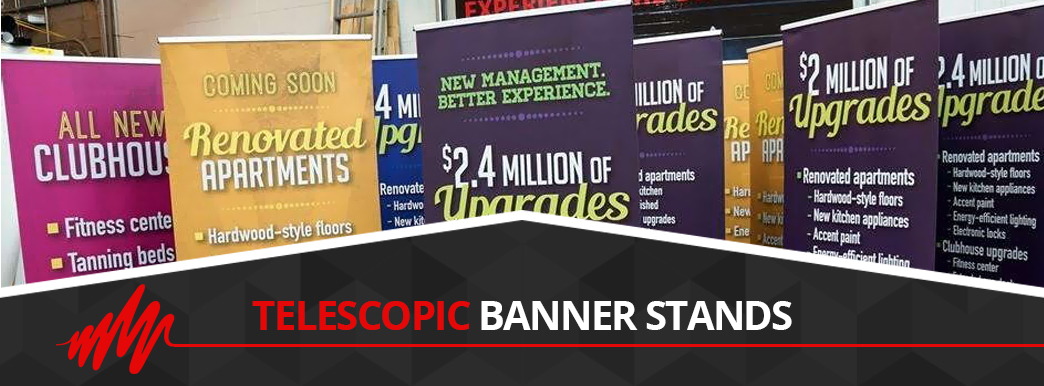
Looking for a versatile display option that you can adjust as your needs change? Consider telescopic banners stands. These displays feature an easy-to-assemble frame to which you can easily attach custom graphics printed on vinyl, fabric or polyester. The stands are also designed to enable you to quickly add or take away pieces to expand or shrink the size of your display.
Telescopic banner stands are the perfect display solution for a variety of situations. Let’s take a closer look at these products and the options that are available.
The Benefits of Telescopic Banner Stands
Why use telescopic banner stands? They offer a number of practical benefits, including:
- Adjustability: One of the most notable features of telescopic banner stands is the fact that you can so readily resize them according to your needs. You can adjust the length of the telescopic poles that make up your display’s frame to change its height and width, which enables you to use the same unit in numerous environments. You can even easily link multiple graphics together by purchasing an easy-to-use extension kit. Additionally, you can use various graphic types with your telescopic banner stand, including vinyl, fabric and polyester, and you can often choose between one-sided and two-sided displays or even multiple graphics on one stand.
- Portability: These types of stands are also easy to transport. You can roll up your graphic, collapse the poles to minimize the amount of space they take up and place the pieces of your display in a carry bag. The units are lightweight, so you can carry them from event to event without any trouble.
- Ease of setup: Telescopic banner stands are also easy to work with once you get to your event. The lightweight adjustable banner stand telescopic poles are easy to maneuver, and you can put the pieces of your display together using push-button connections. When it comes time to take down your display, you can just as easily take it apart and put it away.
- Affordability: These stands are also affordable compared to many other display options. The fact that you can use the same product for multiple situations due to its versatility and adjustability also makes the telescopic banner stand a highly cost-effective buy.
When to Use Telescopic Banner Stands
You can use telescopic banner stands for a variety of different applications and in a number of unique scenarios. Some examples include:
- Trade shows: Adding a telescopic banner stand to your trade show booth is a great way to get your message to event attendees. You can adjust the size of your stand to the size of your booth and even link multiple frames together to create a larger backdrop. They’re also easy to transport from event to event and to set up.
- Concerts: You can use banner stands at theaters and concerts to introduce guests to an event with information about the performance, promote upcoming events, display information about sponsors and much more. These versatile signs are perfect for all kinds of venues and occurrences.
- Product launches: Telescopic banner stands are perfect for displaying information about a product or company at a product launch event. They can convey a significant amount of information without taking up too much space, or you can combine multiple stands to create a backdrop with images of the new product.
- In the office: A telescopic banner that features your company logo, slogan, colors and other brand elements is an excellent way to promote brand visibility in the office. You can also use these stands to convey important company information to visitors or print them with your company values or inspirational quotes to promote a positive workplace culture.
- In a store: Banner stands can also be useful in a store to promote a sale, display images of products or send a friendly greeting or message to customers. These graphics can catch the eye of shoppers to help drive brand visibility and promote certain products to customers.
These options are just a few examples of the places where you can use telescopic banner stands. Their uses can be limited only by your imagination.
Types of Telescopic Banner Stands
There are three main types of banner stands you can choose — Pegasus Standard, Pegasus Supreme and Trio 2. You can also opt to use extension kits to expand your display whenever you need to.
Pegasus Standard Telescopic Banner Stand
The Pegasus Standard is a leading choice when it comes to telescopic banner stands. It’s fully adjustable and simple to set up, and you can easily connect multiple units with additional linking connectors, which are sold separately.
The kit includes two feet, two telescopic cross poles with a push-button connection, two telescopic upright poles with a push-button connection, two bottom connectors and two top connectors. You can choose between single-sided and double-sided graphics, and the display comes with a carry bag. The frame comes in silver and black, and you can choose between vinyl, display poly and oxford fabric graphics.
The dimensions of the display, which vary because it’s adjustable, are:
- Assembled dimensions: 58.66″ to 102.36″W x 70.87″ to 100.2″H x 25.6″D
- Graphic dimensions: 51.5″ to 94″W x 67.75″ to 96.5″H
- Hardware-only weight: 10.75 lbs
Pegasus Standard Telescopic Banner Stand Extension Kit
You can also purchase an extension kit for the Pegasus Standard, which allows you to expand it without purchasing another full stand. The kit comes with one foot and one upright pole and attaches to one of the upright poles of the Pegasus Standard stand using linking connectors. This setup will enable you to create a larger backwall configuration.
Altogether, the kit includes one foot, one telescopic upright pole with a push-button connection, two telescopic cross poles with a push-button connection, two bottom connectors, two top connectors and one set of top and bottom linking connectors. Like the regular stand, the size of the display is adjustable. It also works with single-sided and double-sided graphics and includes a carry bag.
The extension kit’s dimensions are:
- Assembled dimensions: 58.66″ to 102.36″W x 70.87″ to 100.2″H x 25.6″D
- Graphic dimensions: 51.5″ to 94″W x 67.75″ to 96.5″H
- Hardware-only weight: 7 lbs
Pegasus Supreme Telescopic Banner Stand
The Pegasus Supreme is the larger version of the Pegasus Standard. Like with the Standard, you can adjust its width and height and attach multiple Supreme units together using linking connectors. It can also accommodate single-sided or double-sided graphics and comes with a carry bag.
The kit includes two feet, two telescopic cross poles with a push-button connection, two telescopic upright poles with a push-button connection, two bottom connectors and two top connectors. You can choose a silver or black frame and vinyl, display poly or oxford fabric graphics.
The stand’s dimensions are:
- Assembled dimensions: 70.63″ to 125.43″W x 82.09″ to 123.66″H x 25.6″D
- Graphic dimensions: 63.5″ to 117.5″W x 82.75″ to 119″H
- Hardware-only weight: 11.25 lbs
Pegasus Supreme Telescopic Banner Stand Extension Kit
The Pegasus Supreme extension kit will allow you to expand your Pegasus Supreme without having to buy another full unit. It works with single-sided and double-sided graphics and comes with a carry bag.
The kit includes one foot, one telescopic upright pole with a push-button connection, two telescopic cross poles with a push-button connection, two bottom connectors, two top connectors and one set of top and bottom linking connectors.
The dimensions are:
- Assembled dimensions: 70.63″ to 125.43″W x 82.09″ to 123.66″H x 25.6″D
- Graphic dimensions: 63.5″ to 117.5″W x 82.75″ to 119″H
- Hardware-only weight: 8 lbs
Trio 2 Telescopic Banner Stand
The Trio 2 is another excellent telescopic banner stand option. It includes a tripod-style base, snap rails and a hybrid bungee/telescopic pole. It has a small footprint and can support either one or two graphics. It can accommodate two different graphics widths and a range of graphic heights. This display is also portable and easy to set up.
Its dimensions are:
- Assembled dimensions: 31.5″ to 36.25″W x 58.5″ to 82.75″H x 19.25″D
- Graphic width options: 31.5″ or 36″
- Graphic height: 51.5″ to 76″H
- Hardware-only weight: 8 lbs
Banner Stand Accessories
Adding accessories to your telescopic banner stand can add functionality and help your display stand out. Some accessory options include:
- Universal tablet holder: With a Universal Tablet Holder, you can easily add a multimedia component to your display. This holder is designed to work with the Aero Universal Clamp, Linear Universal Clamp and Formulate Universal Clamp to allow you to attach it to a variety of displays. All you need to do is place a universal clamp on your host and attach the holder, and you’re ready to go.
- Universal literature holder: Attaching a literature holder to your display makes it easier to hand out materials to trade show attendees, office visitors and others. This Universal Literature Holder works with any Formulate, Aero or Linear display. Just affix a clamp to your post and add the holder. This product is available in large and small to accommodate different sizes of literature.
- Universal shelf: The Universal Shelf Bracket is another great addition to any telescopic display. This sturdy product is easy to attach to a display and works with the Formulate Universal Clamp, Aero Universal Clamp and Linear Universal Clamp. You can choose from circle, triangle and square shelf shapes.
Choosing the Right Telescopic Banner Stands
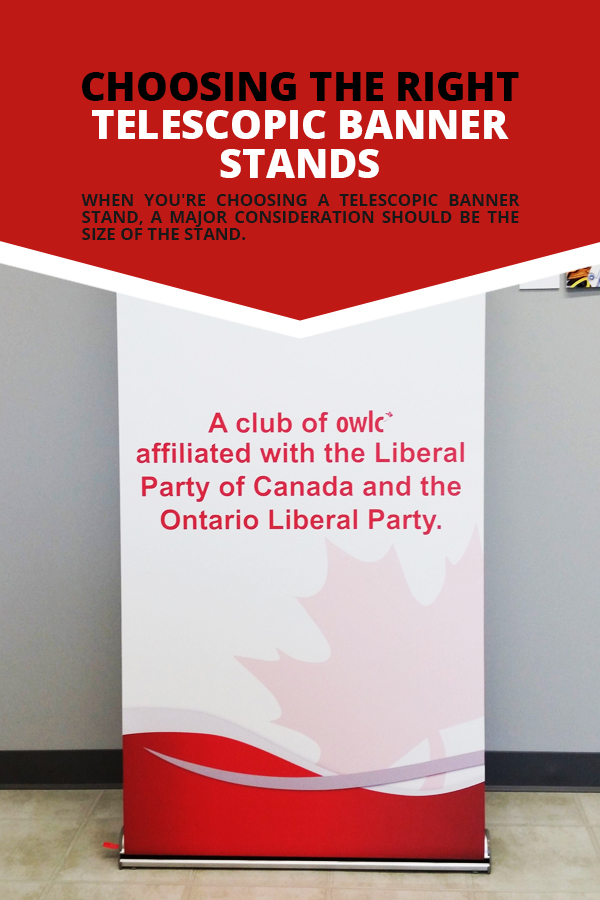
When you’re choosing a telescopic banner stand, a major consideration should be the size of the stand. If you want a larger stand, choose the Pegasus Supreme. A slightly smaller solution is the Pegasus Standard. The most compact option is the Trio 2. All of these stands are adjustable, however, so you can access a wide variety of sizes with each one.
While choosing a banner stand, remember that you can adjust it and use it for a variety of applications, so be sure to consider the various times you may want to use your setup. If those uses vary significantly and you might want to expand your display to create a larger backdrop, an extension kit may be a smart choice. This tool will give you even more flexibility in what you can do with your stand. Incorporating accessories will add even more flexibility to your stand.
How to Put a Telescopic Banner Stand Together
Here’s how to assemble a Pegasus telescopic banner stand:
- Insert the bottom poles into the feet and turn clockwise to tighten them.
- Slide the bottom horizontal pole lock onto the vertical pole and lock it in place at the bottom by pushing the tab.
- Connect the top and bottom parts of the poles using the snap button mechanism.
- Expand the poles according to the width of your graphic.
- Place the bottom horizontal pole into the bottom pole pocket of your graphic.
- Attach the bottom horizontal pole to the connectors on the bottom vertical poles using the snap button mechanism.
- Insert the top horizontal pole into the pocket.
- Place the top horizontal pole lock onto the upper vertical poles and lock it at the top of the pole by pushing the tab.
- Attach the top horizontal pole to the locks on each top vertical pole using the snap buttons.
- Lift the top vertical poles and slide them onto the bottom vertical poles, then attach them using the snap buttons.
- Raise the poles to the desired height, then twist the locks to secure them in place.
Here’s how to assemble a Trio 2 telescopic banner stand:
- Pull the legs up into the grooves in the base.
- Fit the rail bracket onto the bottom extrusion.
- Insert the extrusion into the base.
- Raise the pole to the desired height.
- Assemble the graphic attachment. Start by removing the cap from the snap rail attachment.
- Open the snap rail attachment.
- Insert the graphic into the attachment.
- Close the attachment to secure the graphic.
- Reinsert the cap into the attachment.
- Repeat steps 5-9 for the bottom rail.
- Repeat steps 5-10 if you’re using double-sided graphics.
- Hook the top of the graphic rail onto the top of the pole.
- Extend the pole to its full height.
- Hook the bottom graphic rail to the pole.
- If the graphic is double-sided, repeat steps 12-15.
- Extend the pole to its full height.
Each banner stand comes with a set of illustrated instructions that will guide you through the assembly processes. Once you get used to the process, you’ll be able to set your stand up quickly and easily whether you’re at a trade show or the office.
Telescopic Banner Stands From SpeedPro
To get the most benefit from your telescopic banner stands, you need to work with a company that specializes in large-format printing and is dedicated to delivering superior results. Look no further than SpeedPro. We’ll work with you to ensure that you find the right solution for your needs. Then, we’ll produce high-quality results printed to your specifications — on time, every time. We have the expertise and the tools to create high-quality graphics that will help you stand out from the crowd.
Want to learn more about telescopic banner stands and how SpeedPro can help you grow your business? Get started by finding your local SpeedPro Studio. You’ll find not only an experienced large-format printing company but also a new partner for your business moving forward.


